Quickstart
Create a Permit.io account, set up your workspace, and build your first role-based access control (RBAC) policy in the Permit UI. By the end, a user has a role, and that role has permissions on a resource.
Prefer video? This walkthrough covers the core features of Permit in one sitting.
1. Create a Permit account
Sign up at app.permit.io. You use this account to configure and manage the authorization layer of your application.
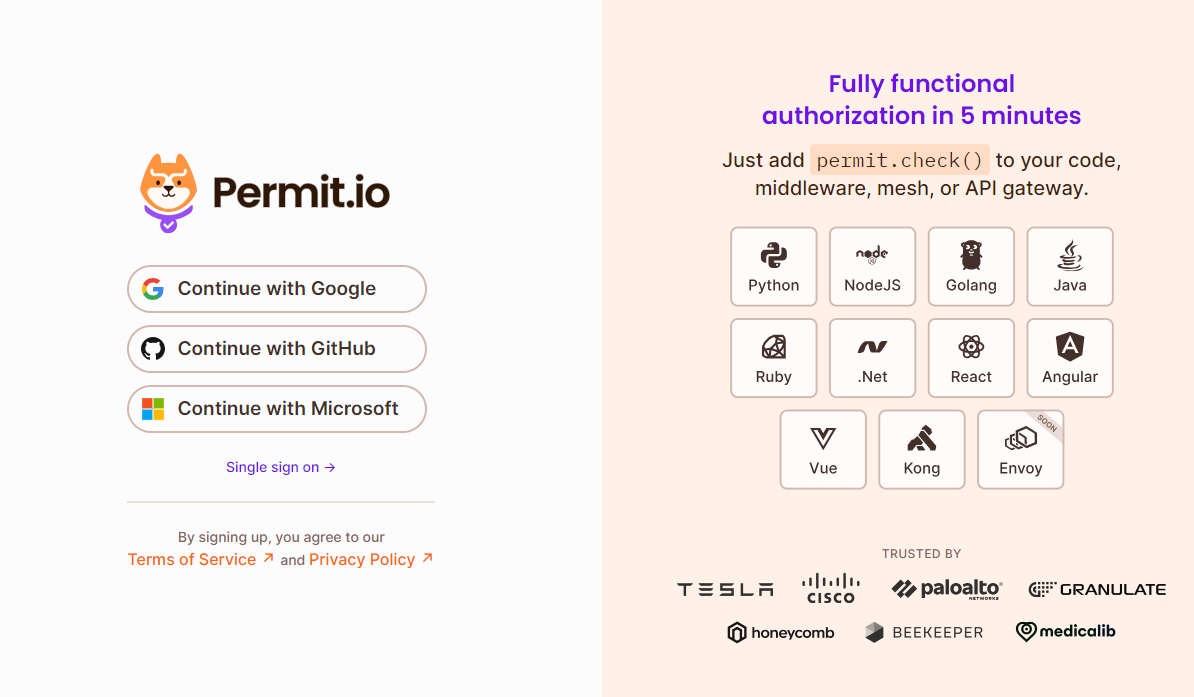
You can sign in with a Google or GitHub account. Permit also supports single sign-on (SSO) with your enterprise identity provider. For SSO availability and pricing, see the pricing page or ask in our Slack Community.
2. Create a workspace and name your organization
Create your workspace, the organization account that holds all of your configuration, projects, and environments. Most teams name it after their company.
If your company is called "Company A", name the organization "Company A".
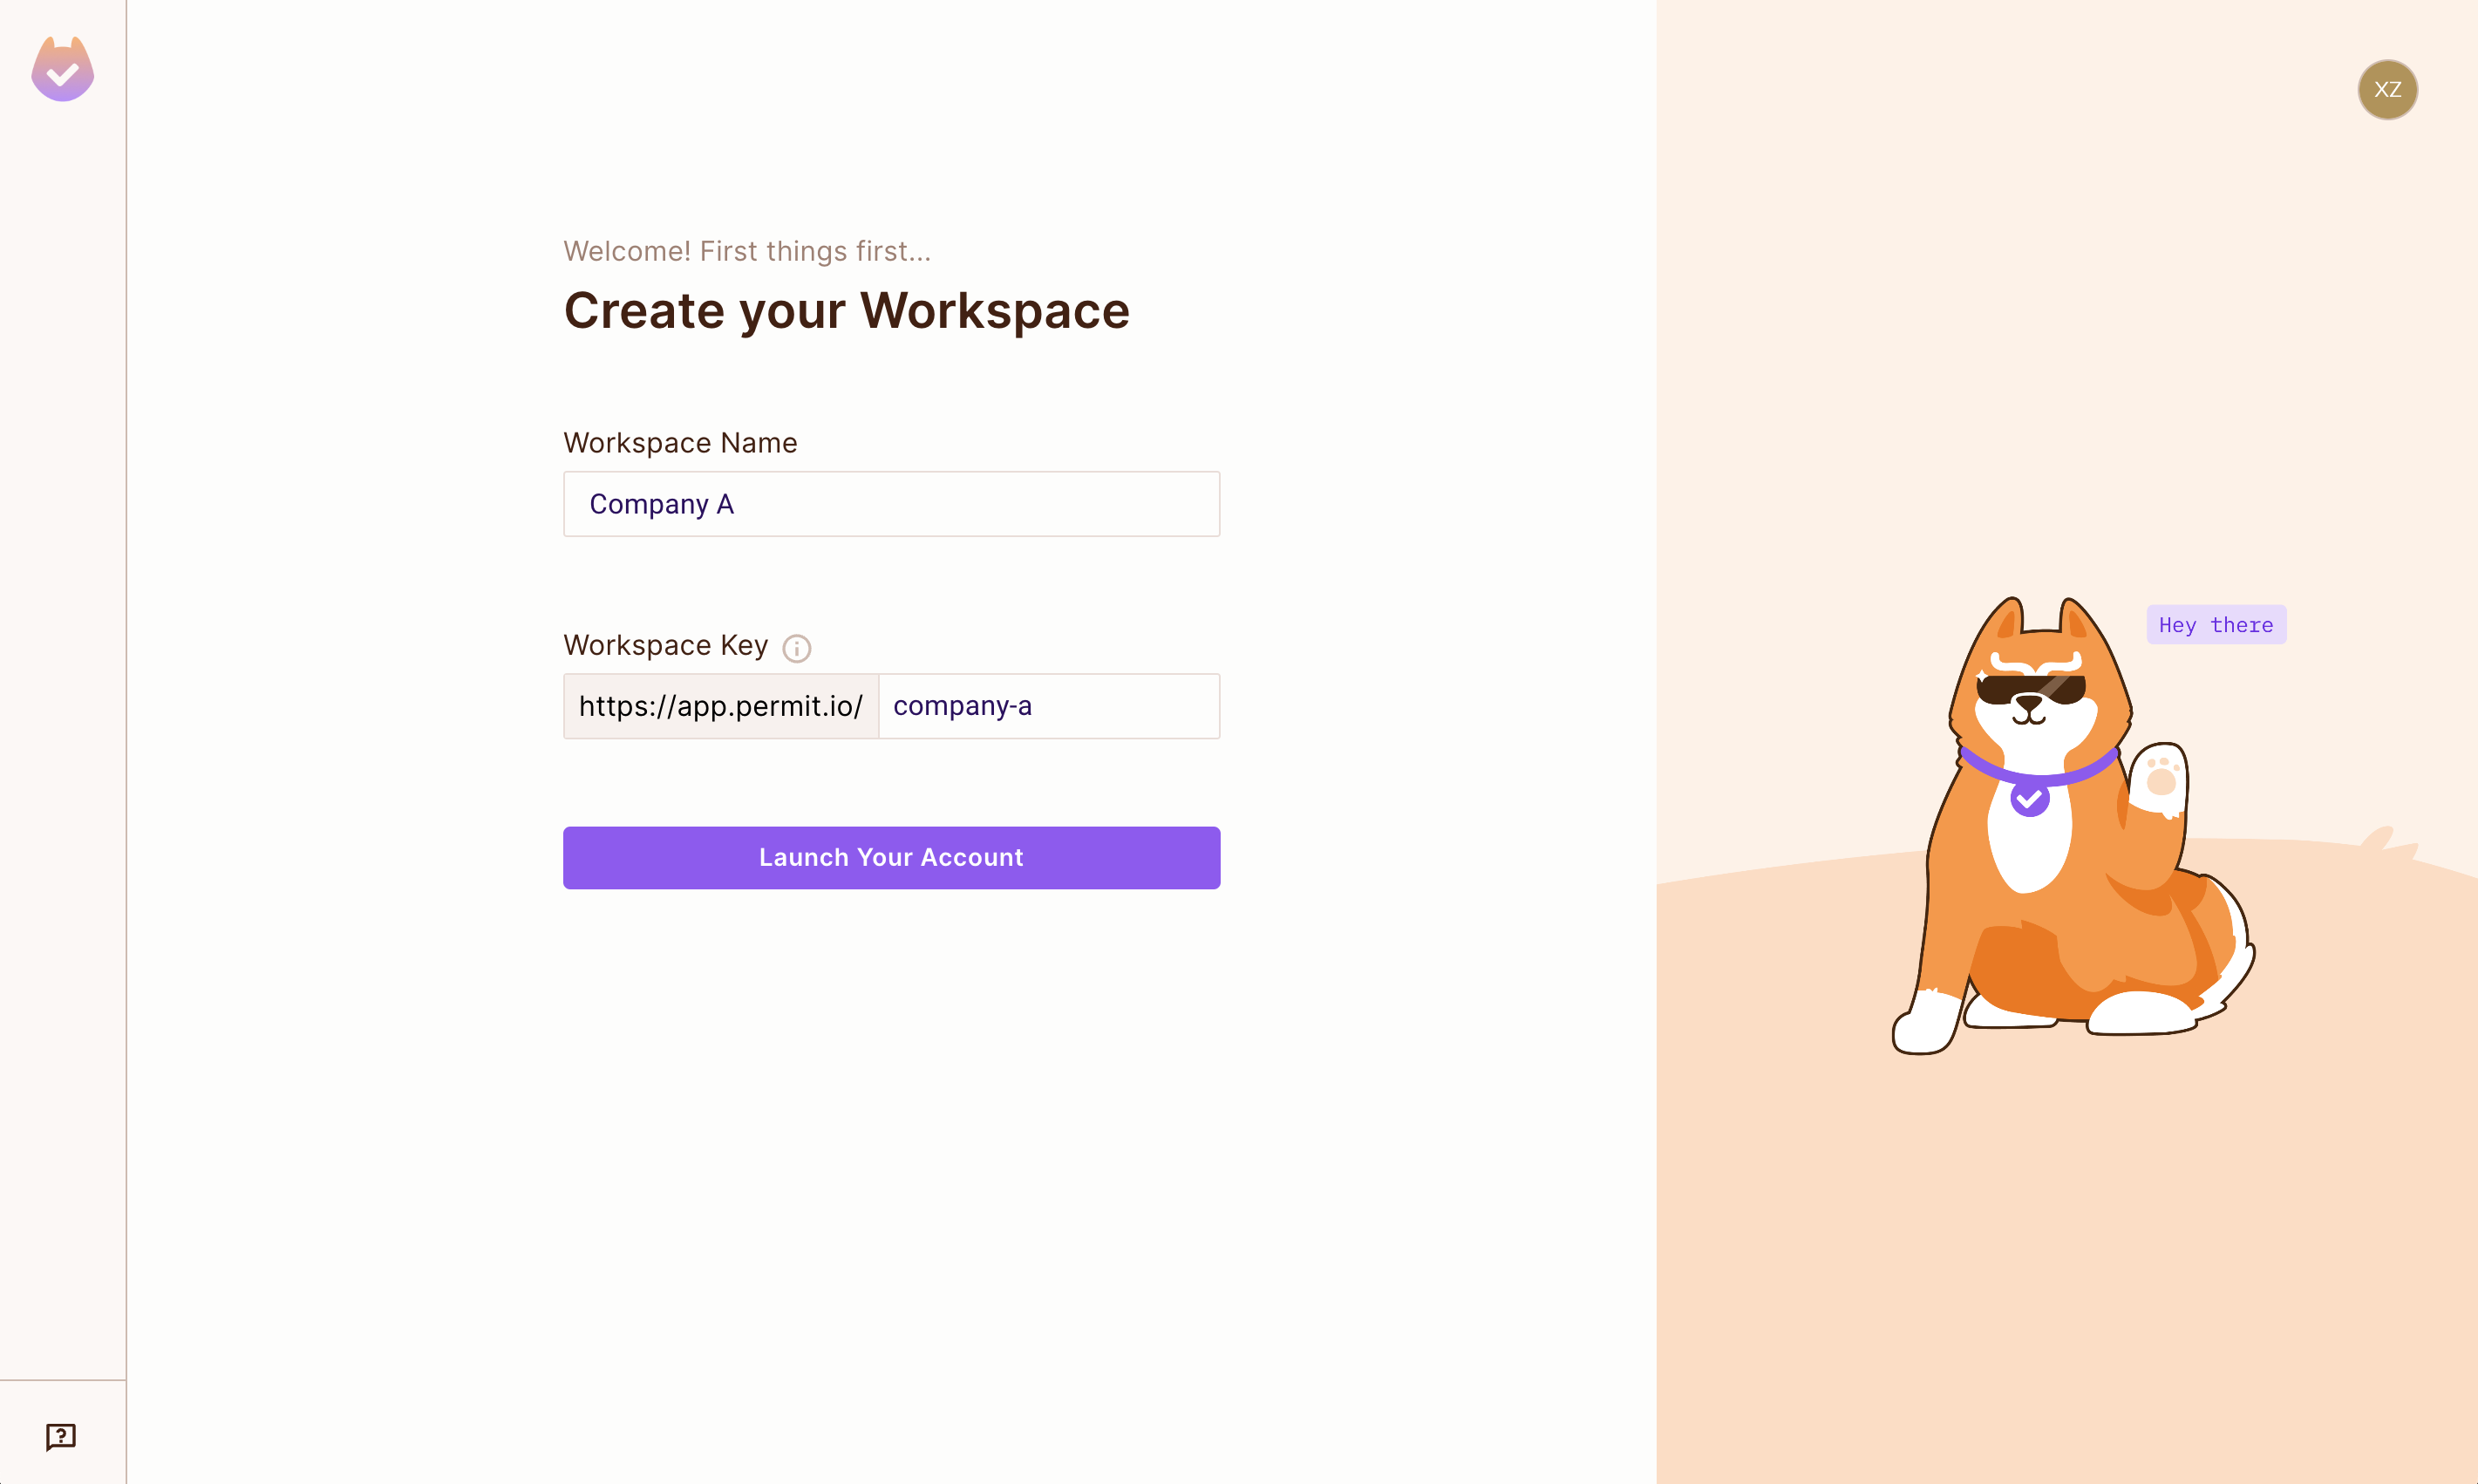
You can create several workspaces and switch between them, though most teams need only one. Workspaces are fully isolated from each other.
Your account is ready. Next, create a basic policy.
3. Create a basic policy
Your first policy uses RBAC (role-based access control), the simplest policy model. You create a role, add a resource with actions, assign the role to a user, and then grant the role permissions in the Policy Editor.
Create a role
Create a role called Admin.
Create a resource and actions
Create a resource called Document. Keep the default actions Permit adds (create, read, update, and delete),
and add a custom action: publish.
Create a user
Add a user called sam@permit.io and assign them the Admin role.
Permit creates the user in the tenant you're currently working in. To create the user in a different tenant, switch tenants in the "Tenant" dropdown first.
Configure permissions in the Policy Editor
In the Policy Editor, choose which actions the Admin role can perform on the Document resource.
RBAC is the starting point. The same Policy Editor also builds ABAC (attribute-based access control) and ReBAC (relationship-based access control) policies, and you can combine models in one policy.
4. Next steps
Connect your application and enforce the policy you built: