Sync your First User
Syncing users is the handoff point between your application's user management (usually your authentication provider or IdP) and the Permit control plane.
Users are the name we use for both human and machine identities.
TL;DR
Sync users on-the-fly by passing their unique ID to the createUser API or users.create/sync SDK call.
This should be done as part of your Authentication callback.
- New users appear in the Directory under
All Tenants. - Assign roles to users to also link them to specific tenants.
- You can assign multiple users to multiple roles at multiple tenants.
- You can use the bulk API to load multiple users at once.
When to sync your users?
Sync users into Permit during sign-in or sign-up, right after authentication verifies their identity. At that point, map their organizational role (for example Head of Marketing, Customer, or Patient) and relevant JWT claims to application-level roles, attributes, and relationships, so their permissions match their role from the first request.
Our API Reference
In this walkthrough, you sync your first user into Permit with the API, either with a role or ready to receive one.
You use two API endpoints:
To learn how workspaces, projects, and environments fit together, read about the Permit hierarchy.
Sync Users from your identity provider
To create a user, send a POST request to the users endpoint with your project ID (proj_id),
environment ID (env_id), and the user's unique details. The user is created in that environment,
ready for role assignments.
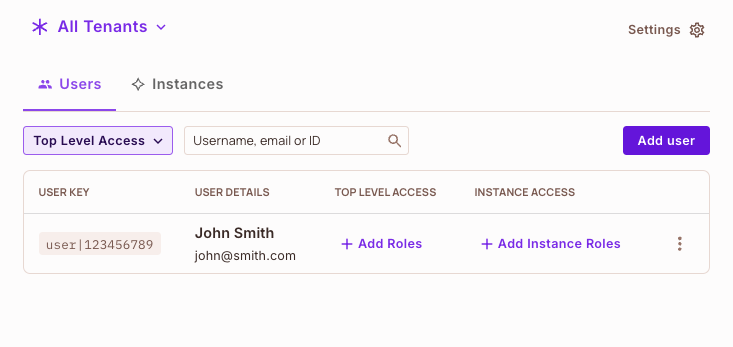
Verify the user was created in the Permit Directory
This example runs the request with
cURL. The new user appears in the UI, underDirectory.
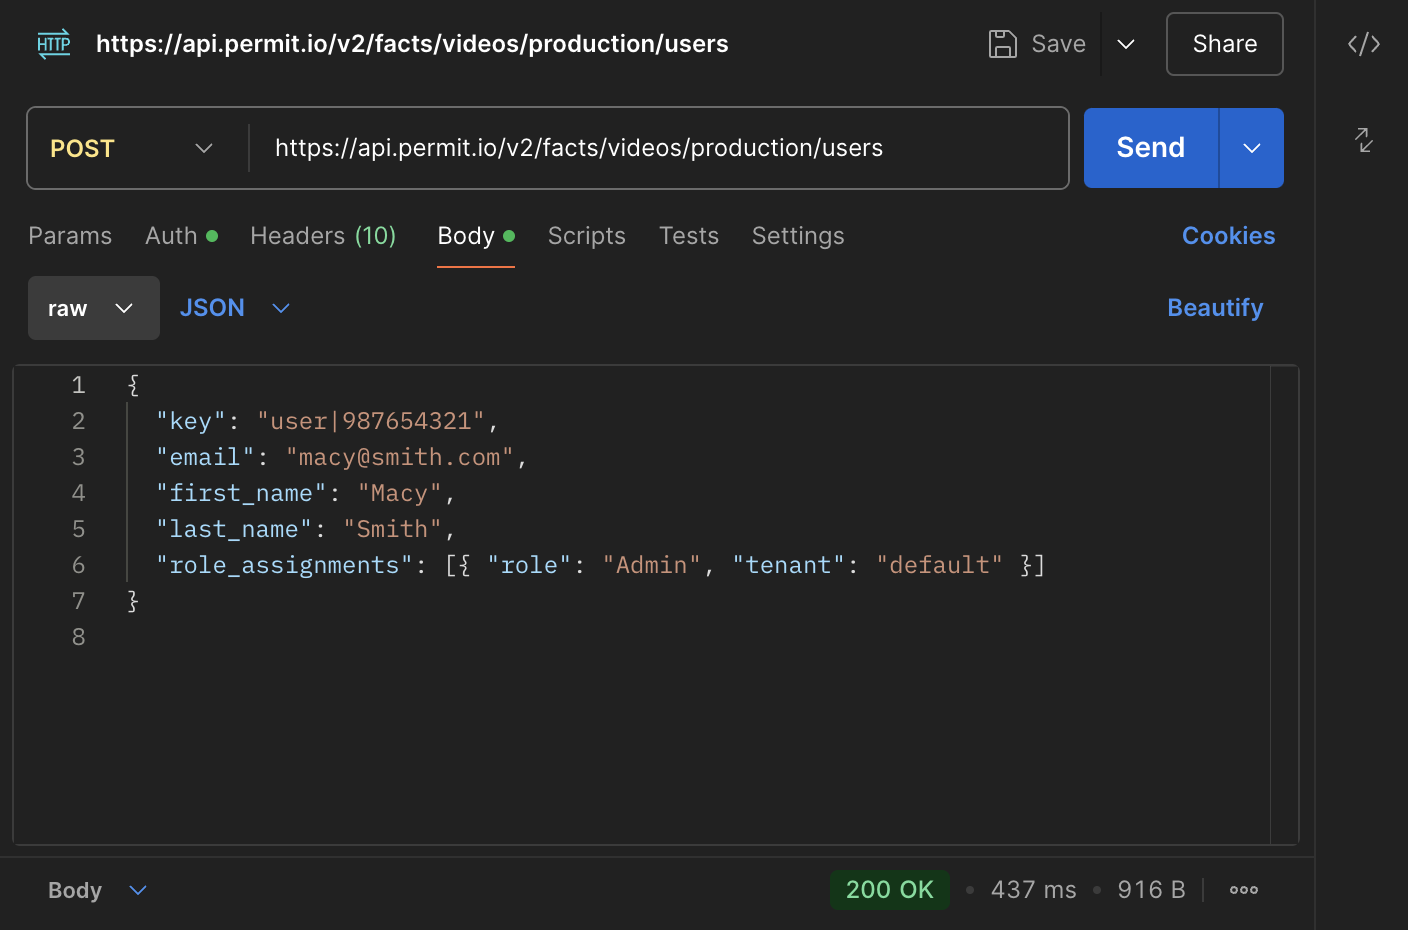
You can assign roles when you create the user. Include the role_assignments
field in the request body (here, the userData object):
role_assignments: [{ role: "manager", tenant: "default" }];
The user is created with the role, in the right tenant, in one request.
Below is the request in Postman for adding a user with a role assignment:
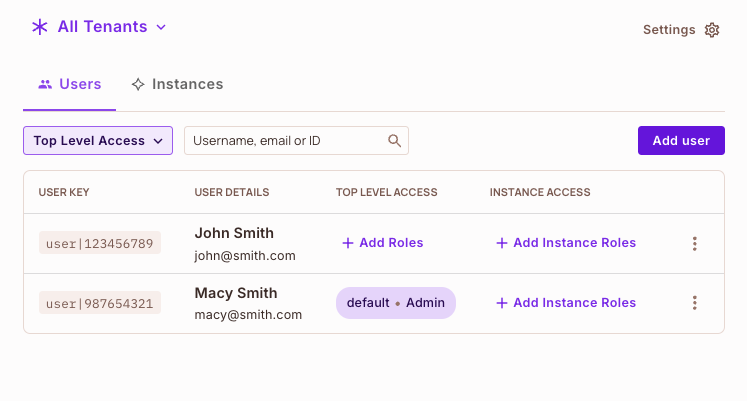
The result in the Permit
Directory:
Assign a role to the User (optional)
You can also assign a role to the user in a separate request after creating them, with this endpoint:
Create a new tenant
In Permit, a tenant is an isolated space in your application, with its own role assignments and resource instances. This is how Permit supports multitenancy: the same user can have different roles in different tenants (for example Admin in one tenant and Manager in another).
Create a new
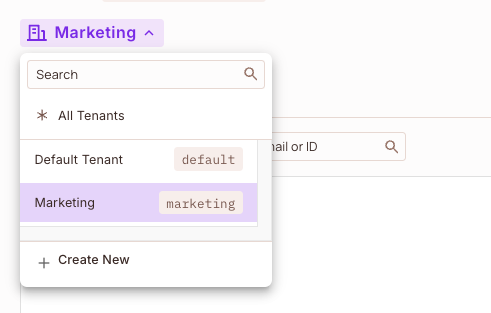
tenantcalledMarketing.
The new tenant appears in the UI:
Add a user to a new tenant and assign them a different role
Add the user to the new tenant and assign them a role there.
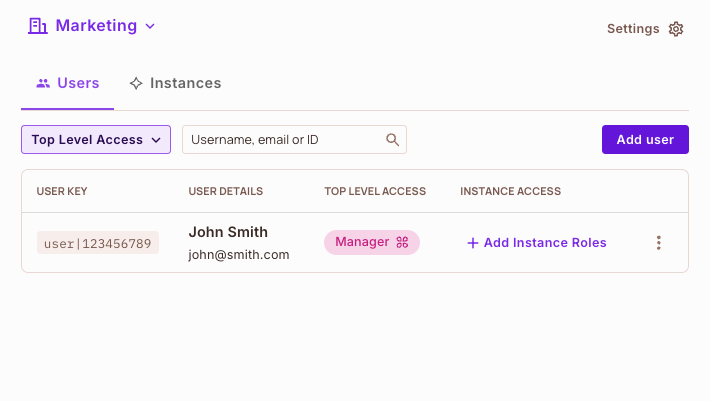
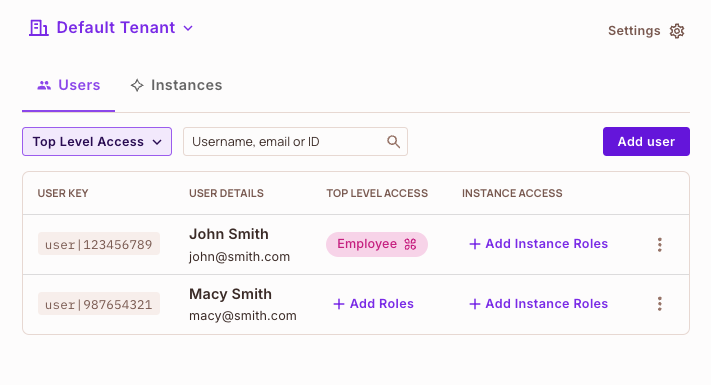
The same user now also exists in the
Marketingtenant, with theManagerrole there, while keeping theEmployeerole in the default tenant:
Marketing Tenant
Default Tenant
Bulk user syncing
The API also syncs and updates users in bulk:
- Bulk
CreateUser - Bulk
ReplaceUser - Bulk
Assign Rolesto Users - Bulk
Unassign Rolesto Users - Bulk
DeleteUser
What did you learn?
In this guide, you've learned how to:
- Sync a user into Permit using the API.
- Assign roles to a user either during creation or later through a dedicated API call.
- Understand Permit's hierarchy (workspaces, projects, environments) and how it relates to API calls.
Permit is API-first: everything you can do in the UI, you can also do with the API.
What's next? 🎉
- Understand the check() function
- Run a local Policy Decision Point
- Perform an authorization check
Great stuff. Ready to learn more?